
 0
0

HYB-038 20"CR-MO BMX BIKE
The HYB-038 20" CR-MO BMX Bike is designed for high-performance freestyle riding, offering exceptional durability, ...

Content
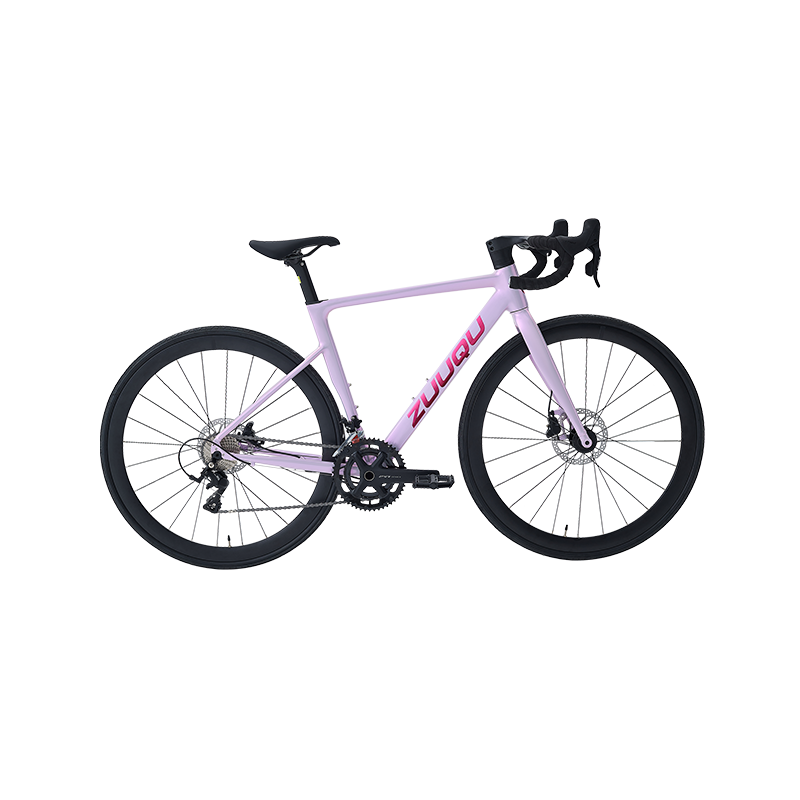
A road bike is engineered from the ground up around a single priority: moving a rider as fast as possible across paved surfaces with the least possible energy expenditure. Every design decision — from frame material and tube geometry to handlebar shape and drivetrain specification — is made in service of that goal. Understanding what separates the best road bike options from the average requires a working knowledge of the key components that define road bike performance and how they interact with each other under real-world riding conditions.
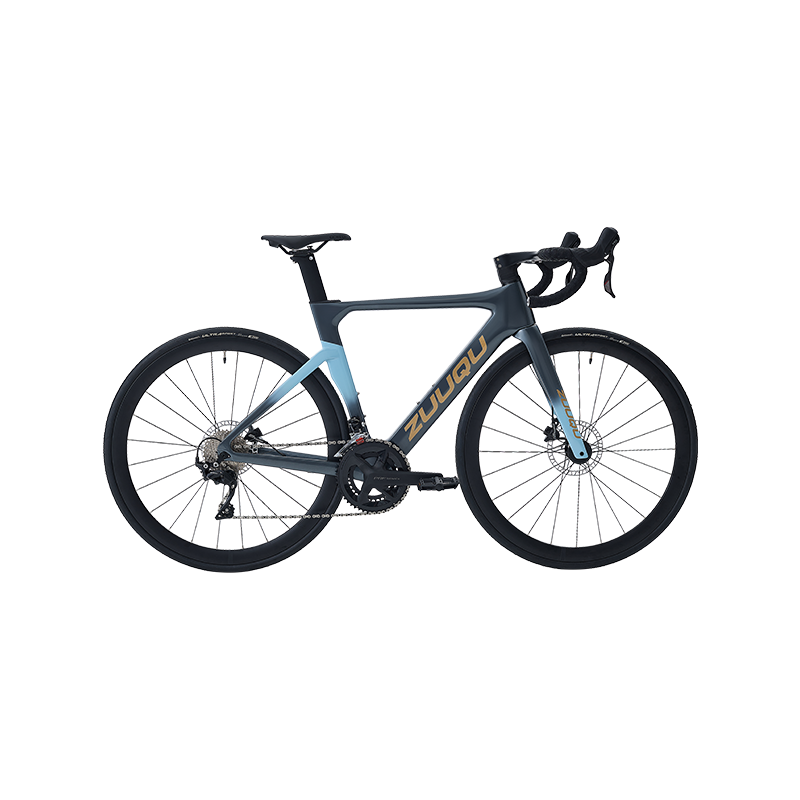
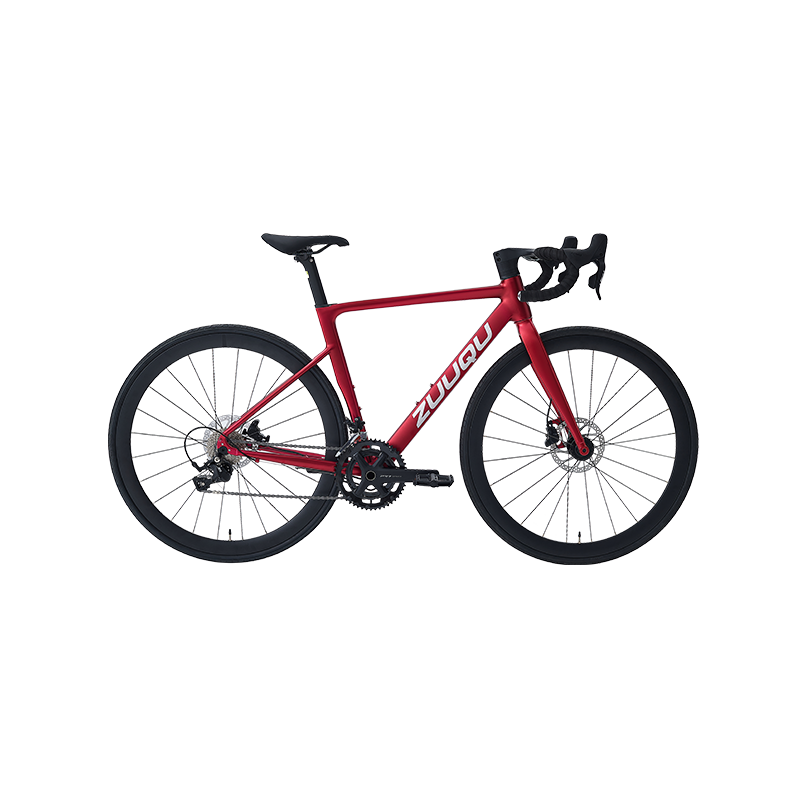
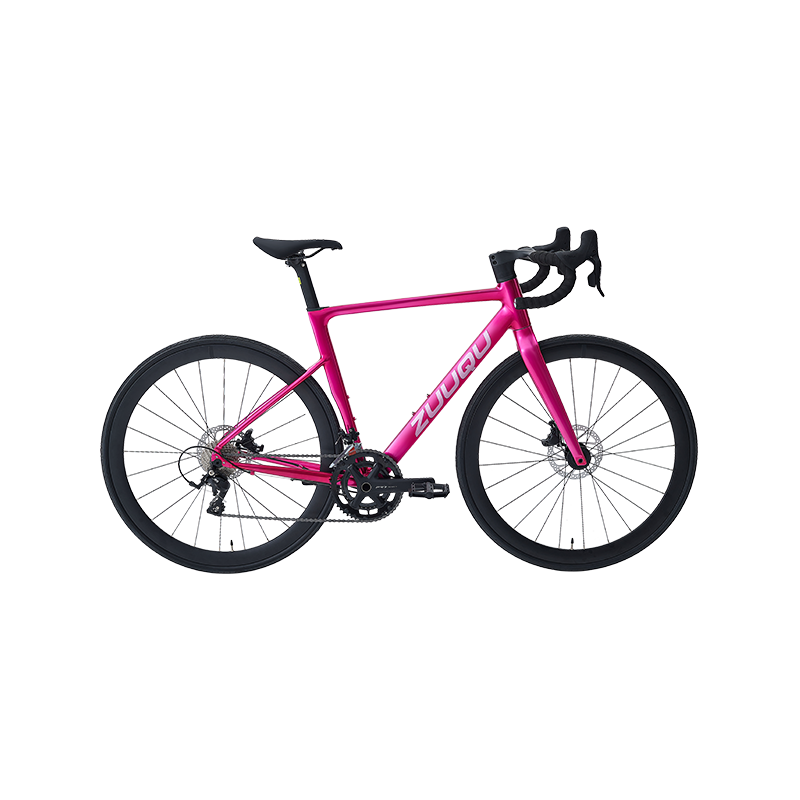
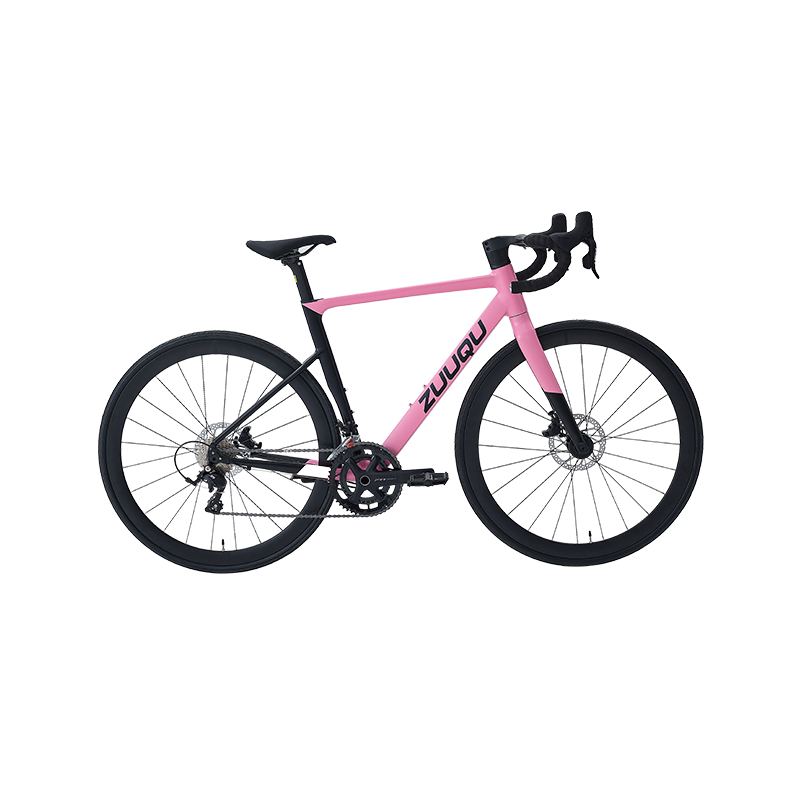
The frame material is the most fundamental variable in road bike design. Carbon fiber dominates the premium end of the market, offering the highest strength-to-weight ratio available and the ability to tune stiffness and compliance independently in different parts of the frame through layup design. The best road bike frames in carbon can weigh as little as 700–900 grams while remaining stiff enough at the bottom bracket for efficient power transfer and compliant enough at the seatstays to absorb road vibration over long distances. Aluminum frames are the dominant choice in the mid-range, offering excellent stiffness and durability at a fraction of carbon's cost, with modern hydroforming techniques allowing engineers to shape tubes with increasing sophistication. Titanium occupies a premium niche for riders who prioritize ride quality and longevity, offering natural vibration damping, exceptional corrosion resistance, and a service life measured in decades rather than years.
Selecting the best road bike for your specific use case — whether competitive racing, long-distance endurance events, or high-speed recreational rides — requires evaluating several interconnected feature sets rather than focusing on any single specification in isolation.
The geometry of a road bike is optimized for agility and power transfer, with the specific balance between these two priorities varying significantly between racing and endurance designs. A race-geometry road bike features a lower handlebar height relative to the saddle, encouraging a forward-leaning stance that enhances speed by reducing the rider's frontal area and placing them in an aerodynamically efficient position. This aggressive posture maximizes power output and aerodynamic performance but places greater demands on core strength and hip flexor flexibility — making it most appropriate for riders with significant road cycling experience and the physical conditioning to sustain it over several hours. Endurance geometry raises the handlebar height relative to the saddle, rotating the rider's torso upward and reducing the load on the lower back, neck, and shoulders during extended riding. The best road bike geometry for a given rider is the one that allows them to sustain their target power output comfortably for the full duration of their intended ride.
Precise shifting mechanisms from Shimano or SRAM systems are the standard specification on quality road bikes across the full price spectrum. Both manufacturers offer tiered groupsets — from entry-level Shimano Claris and Sora through mid-range Tiagra and 105 to the premium Ultegra and Dura-Ace at the top — with increasing precision, reduced weight, and enhanced durability at each tier. SRAM's Force and Red groupsets offer a competing alternative with different ergonomic feel and, at the top level, industry-leading electronic wireless shifting. Road bikes feature a high gear range to accommodate fast, level-ground travel and steep hill climbs — typically achieved through a compact (50/34T) or standard (53/39T) chainring paired with an 11-28T or 11-32T cassette, providing a gear spread that covers everything from high-speed flat riding to 10%+ gradient climbs without requiring excessive rider effort.
Braking systems on road bikes can vary significantly, and the choice between rim and disc brakes has become one of the most discussed topics in road cycling over the past decade. Traditional caliper brakes remain common, particularly on weight-optimized race bikes where every gram saved contributes to climbing performance and the controlled, dry-weather conditions of most competitive road racing reduce the advantages of disc systems. Disc brakes are increasingly popular for their stopping power and performance in diverse weather conditions — delivering consistent, modulated braking regardless of whether the rim surface is dry, wet, or contaminated with road debris. For riders who train year-round in variable weather, frequently descend long mountain passes, or prioritize safety margin over absolute weight minimization, disc brake-equipped road bikes represent the best road bike choice for their usage profile.
Knowing how to clean a road bike correctly is one of the most impactful maintenance habits a cyclist can develop. A road bike that is cleaned and lubricated regularly runs more efficiently, shifts more precisely, wears components more slowly, and lasts significantly longer than one that is only superficially maintained. The cleaning process is straightforward when broken into logical stages, and the tools required are inexpensive and widely available.
Knowing how to fix a flat tire road bike riders encounter is an essential skill for anyone who rides regularly — a flat tire is the single most common mechanical failure on a road bike, and the ability to repair it roadside independently means the difference between completing a ride and waiting for a rescue. The process is manageable once you have practiced it a few times and have the right tools in your saddle bag.
Every road cyclist should carry a minimum flat repair kit on every ride. This kit should include at least two spare inner tubes in the correct diameter and width for your tires (typically 700c x 23–32mm for road bikes), two or three plastic tire levers, a compact CO₂ inflator or mini pump, and a small patch kit for emergency use if both spare tubes are depleted. Carrying these items in a saddle bag adds negligible weight and eliminates the helplessness of being stranded with an unrepairable flat far from home.
The best road bike for any individual depends on the specific combination of riding style, terrain, budget, and physical requirements that defines their cycling life. The following table summarizes the key differences between the three primary road bike categories to guide the selection process:
| Category | Frame Material | Geometry | Best For |
| Race Road Bike | Carbon fiber | Aggressive, low front end | Competitive racing, criteriums, fast group rides |
| Endurance Road Bike | Carbon or aluminum | Relaxed, higher front end | Sportives, long-distance touring, daily training |
| Aero Road Bike | Carbon fiber | Race position, aero tube shapes | Time trials, flat stages, high-speed flat rides |
| Entry-Level Road Bike | Aluminum | Moderate, accessible position | Beginners, commuting, recreational weekend rides |
Whichever category best matches your riding ambitions, the maintenance fundamentals remain constant: knowing how to clean a road bike after every significant ride and knowing how to fix a flat tire road bike mechanics require on the road are the two practical skills that will most directly determine how much trouble-free riding you get out of your investment. The best road bike in the world performs well only when it is properly maintained — and properly maintained road bikes reward their riders with years of efficient, enjoyable, and mechanically reliable performance on every ride they undertake.

© 2024 Zhejiang Hangyi Bicycle Manufacture CO., LTD. All rights
 OEM/ODM Bikes Manufacturers
Adult Bicycles Suppliers
OEM/ODM Bikes Manufacturers
Adult Bicycles Suppliers
 Linhang industry park, Zhuji,
  +86-18858280688